
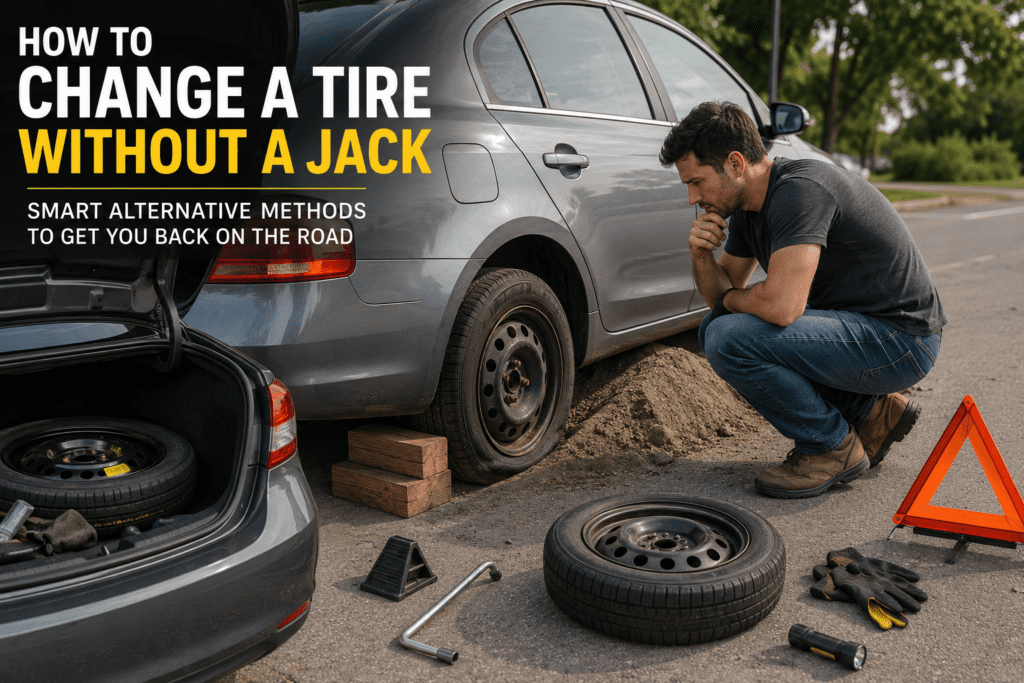
How to Change a Tire Without a Jack
When the Road Tests Your Resolve
Getting stranded with a flat tire can transform an ordinary day into a terrifying moment, especially when you’re caught off guard at a parking lot or during your morning commute. The first instinct is often to panic or call a tow-truck company, but what if there’s a way to handle this situation yourself without the traditional tools you expect to have on hand? Understanding how to change a tire when a jack isn’t available represents one of the most valuable emergency skills any driver can master.
Whether your jack is broken, missing, or simply inaccessible, this guide walks you through alternative approaches using simple tools and practical techniques that work even in the most challenging circumstances. With proper planning and a solid plan of action, what seems impossible becomes manageable. You’ll discover that a spare tire or donut, some basic equipment, and the right know-how can get you back on the road safely. The stakes may feel high, but experienced drivers have successfully navigated this dilemma countless times. This isn’t about becoming a friendly stranger offering help it’s about developing genuine competence.
Unused words from Merged Introductions: wobble, back tire, trick, tools, trunk, stranger, steps, sidelined, freaking out, repair shop, lifesaver, alternative methods, careful positioning, off-road, emergencies, tow-truck, lug wrench, tire iron, rim, studs, holes, safety, replace, vehicle, ground, soil, axle, block, emergency brake, wheel, lug nuts, hubcap, hole, rock, dig, loosen, tighten, mount, remove, shovel, bricks, ramp, platform, support, chocks, front-wheel drive
Read Also:
How Long Does It Take to Change a Tire?
How to Change Tire Pressure Sensor
Is It Safe to Change a Tire Without a Jack?
The honest answer requires understanding the risks involved and proceeding with intelligence rather than desperation. A jack is specifically designed to lift vehicles safely, distributing the load in ways that prevent accidents. When you opt for makeshift tools, the dangers increase significantly if proper technique isn’t followed. However, this doesn’t mean it’s inherently unsafe it means you must exercise heightened caution and avoid placing yourself in vulnerable positions. Never work on soft ground or unstable ground where your improvised support might sink or shift.
Ensure the vehicle is secure before positioning yourself beneath it. The process itself becomes safer when you understand the principles involved. Before removing your tire, verify that all supporting materials are non-compressible materials that won’t collapse under the weight of your car. Consider alternatives like calling roadside assistance or a professional service if you’re genuinely unsure about the procedure. Think of this method as a last resort something you do when traditional options aren’t available, not when you simply haven’t obtained proper equipment. The key distinction between dangerous and merely unconventional lies in your awareness and stability of your setup.
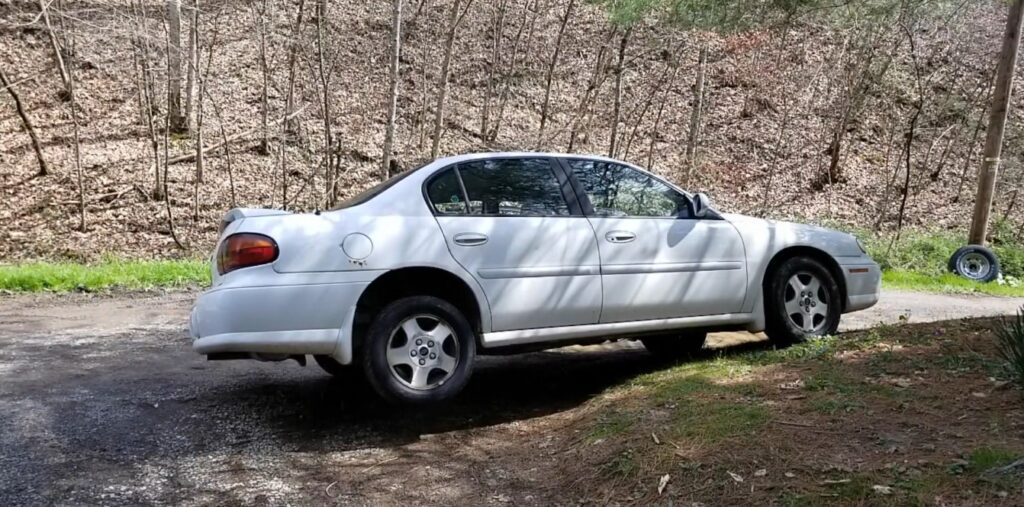
Get to Safety First / Park on Solid, Level Ground
The moment you notice your flat tire, resist the urge to continue driving at full speed. Move slow and steady toward an appropriate location away from active traffic. Never attempt tire change work while vehicles are passing nearby this creates unnecessary danger. Seek open ground away from intersections and busy roads, ideally a firm surface or level ground where your car won’t roll unexpectedly. Once you’ve found your spot, turn off the engine and engage the emergency brake completely. This dual approach shutting down and mechanically securing the vehicle prevents the worst-case scenario of your car moving while you’re working.
Look for natural anchors like a stump or log, or position your car near a woodblock or concrete curb that you can later use as support. Identify the axle on the side nearest your flat and plan your work space mentally before you begin. Park carefully so that when you eventually need to stack blocking materials for support, they’ll make direct contact with the axle. Put the car in gear alongside your parking brake activation this redundant safety measure prevents unexpected movement.
Establish wheel chocks or place bricks against the opposite tires on the far side of your vehicle to prevent rolling. The location you choose determines much of your success. Tools gathered beforehand make the actual work flow more smoothly than scrambling once you’re already inconvenienced.
Dig a Hole Beneath the Tire / Dig, Dig, Dig / A Hole in One
METHOD 1: The Excavation Technique
This unconventional but effective method requires patience and physical effort. Begin by using a shovel to carefully excavate the soil directly beneath your flat tire. The goal is to create enough depth that the tire can be partially removed without requiring the vehicle to be lifted as high. Dig outward in all four sides, creating a basin approximately 5-6 inches deep depending on your tire size. This expanded hole allows working room without compromising structural support. Continue digging until the axle rests primarily on the blocking materials you position around the perimeter.
A single person can manage this task, though it’s admittedly demanding. Use your hands if necessary, or employ a stick and tire iron to loosen compacted areas. As you dig out the soil around and underneath your tire, you’re essentially lowering the wheel into a custom workspace. Ensure you have enough room for the change operation itself.
Once adequate clearance exists, loosen the lug nuts before the wheel is fully suspended. This is crucial—trying to loosen them after elevation creates unsafe spinning situations. Your block placement matters tremendously; position it so the axle makes firm contact and cannot slip. The level ground principle applies throughout; work on the most stable surface available, and dig away any high spots that might cause instability.
METHOD 2: Find a Small Slope or Raised Area
This alternative approach works exceptionally well when natural terrain is available. You can drive your car onto a small hill, curb, ramp, or raised area. If you position the car correctly, one of the rear wheels may lift slightly off the ground. This can create enough space to remove and replace the tire without using a jack.
The beauty of this method lies in its simplicity you’re using existing geography rather than creating your own workspace. Locate a gentle slope where one side is marginally higher than the other. Drive your vehicle so that the flat tire’s side sits lower, which naturally elevates the opposite wheel. Even a modest height difference of a few inches can provide the clearance you need. This approach requires less physical labor than excavation and works particularly well in rural areas, driveways, or parking lots with uneven surfaces.
Safety First
Before you start working on your tire using this method:
- Stop the car completely and let it settle naturally on the slope
- Apply the parking brake firmly to prevent any rolling
- Put the transmission in Park (automatic) or First Gear (manual) for additi onal security
- If possible, place wheel chocks, bricks, or rocks in front of and behind the other tires to create multiple layers of protection against unexpected movement
These steps help keep the vehicle from moving and make the tire change safer. Never position yourself directly under any part of the vehicle, even when you believe it’s secure. Work methodically, double-check all your safety measures before beginning, and remember that this method only works when natural elevation exists don’t attempt to create slopes artificially with unsecured materials.
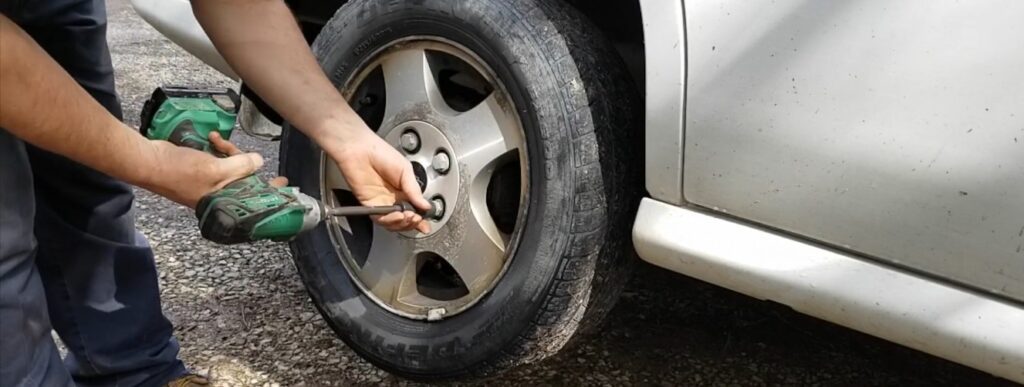
Remove the Lug Nuts / Loosen the Lug Nuts
Before your tire sits in any elevated position, use your lug wrench or tire iron to begin loosening the lug nuts. The sequence matters: slightly loosen each nut in a crisscross pattern to ensure even pressure distribution. Don’t fully remove them yet just break the tension enough that spinning becomes impossible once the wheel is elevated. This prevents the wheel from rolling unexpectedly when you’re applying force. Use an impact wrench if available, though a standard lug wrench works fine for this phase.
Sometimes the drum sticks to the wheel assembly, and in those cases you might need to kick at it gently or use a hammer to break the seal actions that would be dangerous with a jack but manageable when your car is resting on solid ground. Never position yourself where the vehicle could crush you if your support fails. Once the tire is resting in your prepared hole, finish unscrewing the nuts. Set them aside in a safe location where they won’t roll away. The studs protruding from the rim should be clearly visible, ready for your spare tire mounting. Hand-tighten the replacement tire initially to hold it in place while you position the new bolts through the holes.
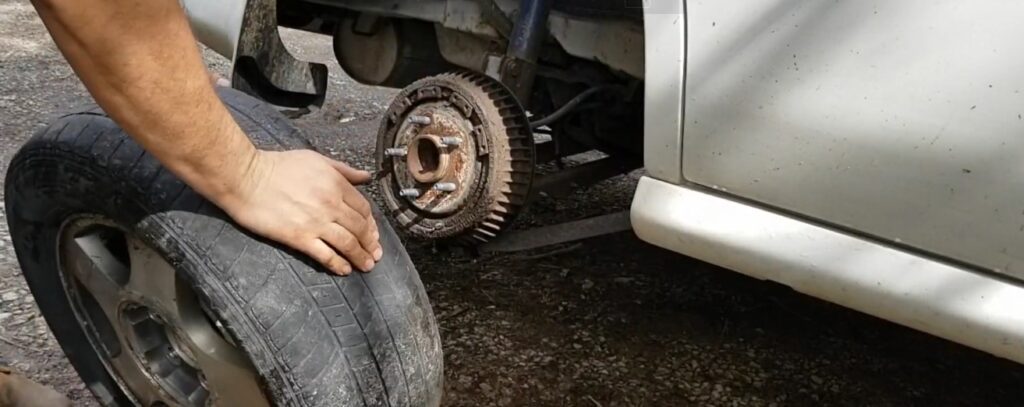
Remove the Flat Tire & Mount the Spare
With the lug nuts properly removed, the flat tire should separate from the studs relatively easily. Lift it carefully and set it aside, you’ll need it later or to dispose of it properly. Now position your spare tire onto the bolts, aligning the holes with the studs. Hand-tighten the lug nuts in that crucial crisscross pattern to ensure even pressure. This cross-pattern tightening prevents uneven stress on your rim and wheel assembly. Work methodically rather than rushing; safely securing your spare determines your reliability for the remaining drive.
A proper mount means checking that the tire sits flush against the rim with no gaps or tilting. If your vehicle previously had a hubcap, note whether your spare uses one as well. Some drivers perform this trick of checking all four contact points before fully tightening anything, which represents sound mechanical thinking. The mount should feel secure and properly positioned before you stress it with weight from the vehicle.
Finishing Touches / Refill the Hole or Lower the Car
Now comes the critical phase of returning your vehicle to normal ground contact. If you created a hole during the digging phase, it must be refilled before driving. Place rocks both in front and rear of the tire as traction aids, then refill the excavation with the soil you removed. Release the emergency brake slowly and apply gentle gas, allowing the spare tire to climb out of the depression.
Rock the car back and forth if it hesitates, using momentum to escape the hole. Once all four tires contact level ground fully, tighten your lug nuts securely using the wrench in a cross pattern again. This final tightening ensures lasting security for the entire journey to a tire shop. Remove any wheel chocks and assess your filled area to confirm it’s passable. Gently move the car forward and backward slightly to verify the mounted spare’s stability. The entire finishing process shouldn’t feel rushed; even though you’re eager to resume your journey, proper completion prevents emergency situations later.
Science on Your Side
Understanding the physics behind this method adds confidence to your execution. A lever works on the principle of using force at distance to raise heavy objects essentially what happens when you position a sturdy object or metal pole under your vehicle’s frame. A large rock or block serves as your fulcrum, the fixed point around which force operates. With physical strength and ideally an extra pair of hands, you can create a simple machine that accomplishes lifting without traditional equipment. The pole extends your reach and multiplies your force when exerted downward, causing the other side to lift the vehicle slightly. A second person can then slide a block underneath for support. Gently release the pole to lower the car onto this support structure, completing your lift without a jack. This ancient principle of mechanical advantage has worked for thousands of years and remains valid today.
Conclusion: Can You Really Change a Tire Without a Jack?
Absolutely. This step-by-step method proves possible when you understand the fundamentals and maintain a calm demeanor despite the fear that often accompanies roadside emergencies. Whether you’re dealing with an off-road situation where a traditional jack fails or you simply don’t have one available, these techniques work. The key is proceeding slowly and carefully, never rushing the process.
Your spare tire or even a donut paired with proper support becomes genuinely reliable when positioned correctly. You’ll drive back on the road knowing you’ve handled a challenging situation without calling a tow-truck company. Keep these steps and tools in mind for future situations. While this remains a last resort, mastery over this method transforms emergency situations from catastrophes into manageable problems. You now possess practical know-how that few drivers develop a real safety advantage.
Frequently Asked Questions
Q: What’s the minimum set of tools I actually need?
A: You essentially need a lug wrench, a shovel, your spare tire, and suitable blocking materials like wooden log, concrete block, or sturdy bricks. Optional items include wheel wedges, a tire iron, and stable boards for alternate methods.
Q: Can I use a ramp instead of digging a hole?
A: Yes. Build a small ramp from wood or boards using the opposite tire as your lift point, creating modest elevation and clearance. Drive the car’s non-flat side slightly upward, which raises the flat tire enough to work on.
Q: How do I prevent the car from slipping?
A: Use non-slip, non-compressible materials under the axle. Ensure everything is positioned securely and won’t slip. Never crawl underneath keep yourself outside the danger zone. Test stability before working.
Q: Should I call for help?
A: If you’re unsure about the process, absolutely contact roadside assistance or a professional service. It’s the important choice when safety is questionable. Never let pride override caution.
Q: What about my tire pressure afterward?
A: Check tire pressure on your spare immediately. Drive slowly to a nearby mechanic or tire shop for a proper inspection. Tighten all lug nuts securely once you’re on level ground and the vehicle settles.
Q: Are emergency tools worth buying?
A: Consider an inflatable car lift (air jack), car ramps, leveling boards, or a heavy-duty scissor jack for stability and convenience. A tire sealant or plug kit helps with off-roading and travel. These prevent improvising in emergencies.
Q: When should I call a professional instead?
A: Contact a professional for emergency roadside repair or mobile flat tire repair if your jack is broken, you’re uncomfortable with the process, or you’re in dangerous traffic conditions. Roadside assistance exists precisely for these moments.